

Welsh Pharmacy Awards 2022
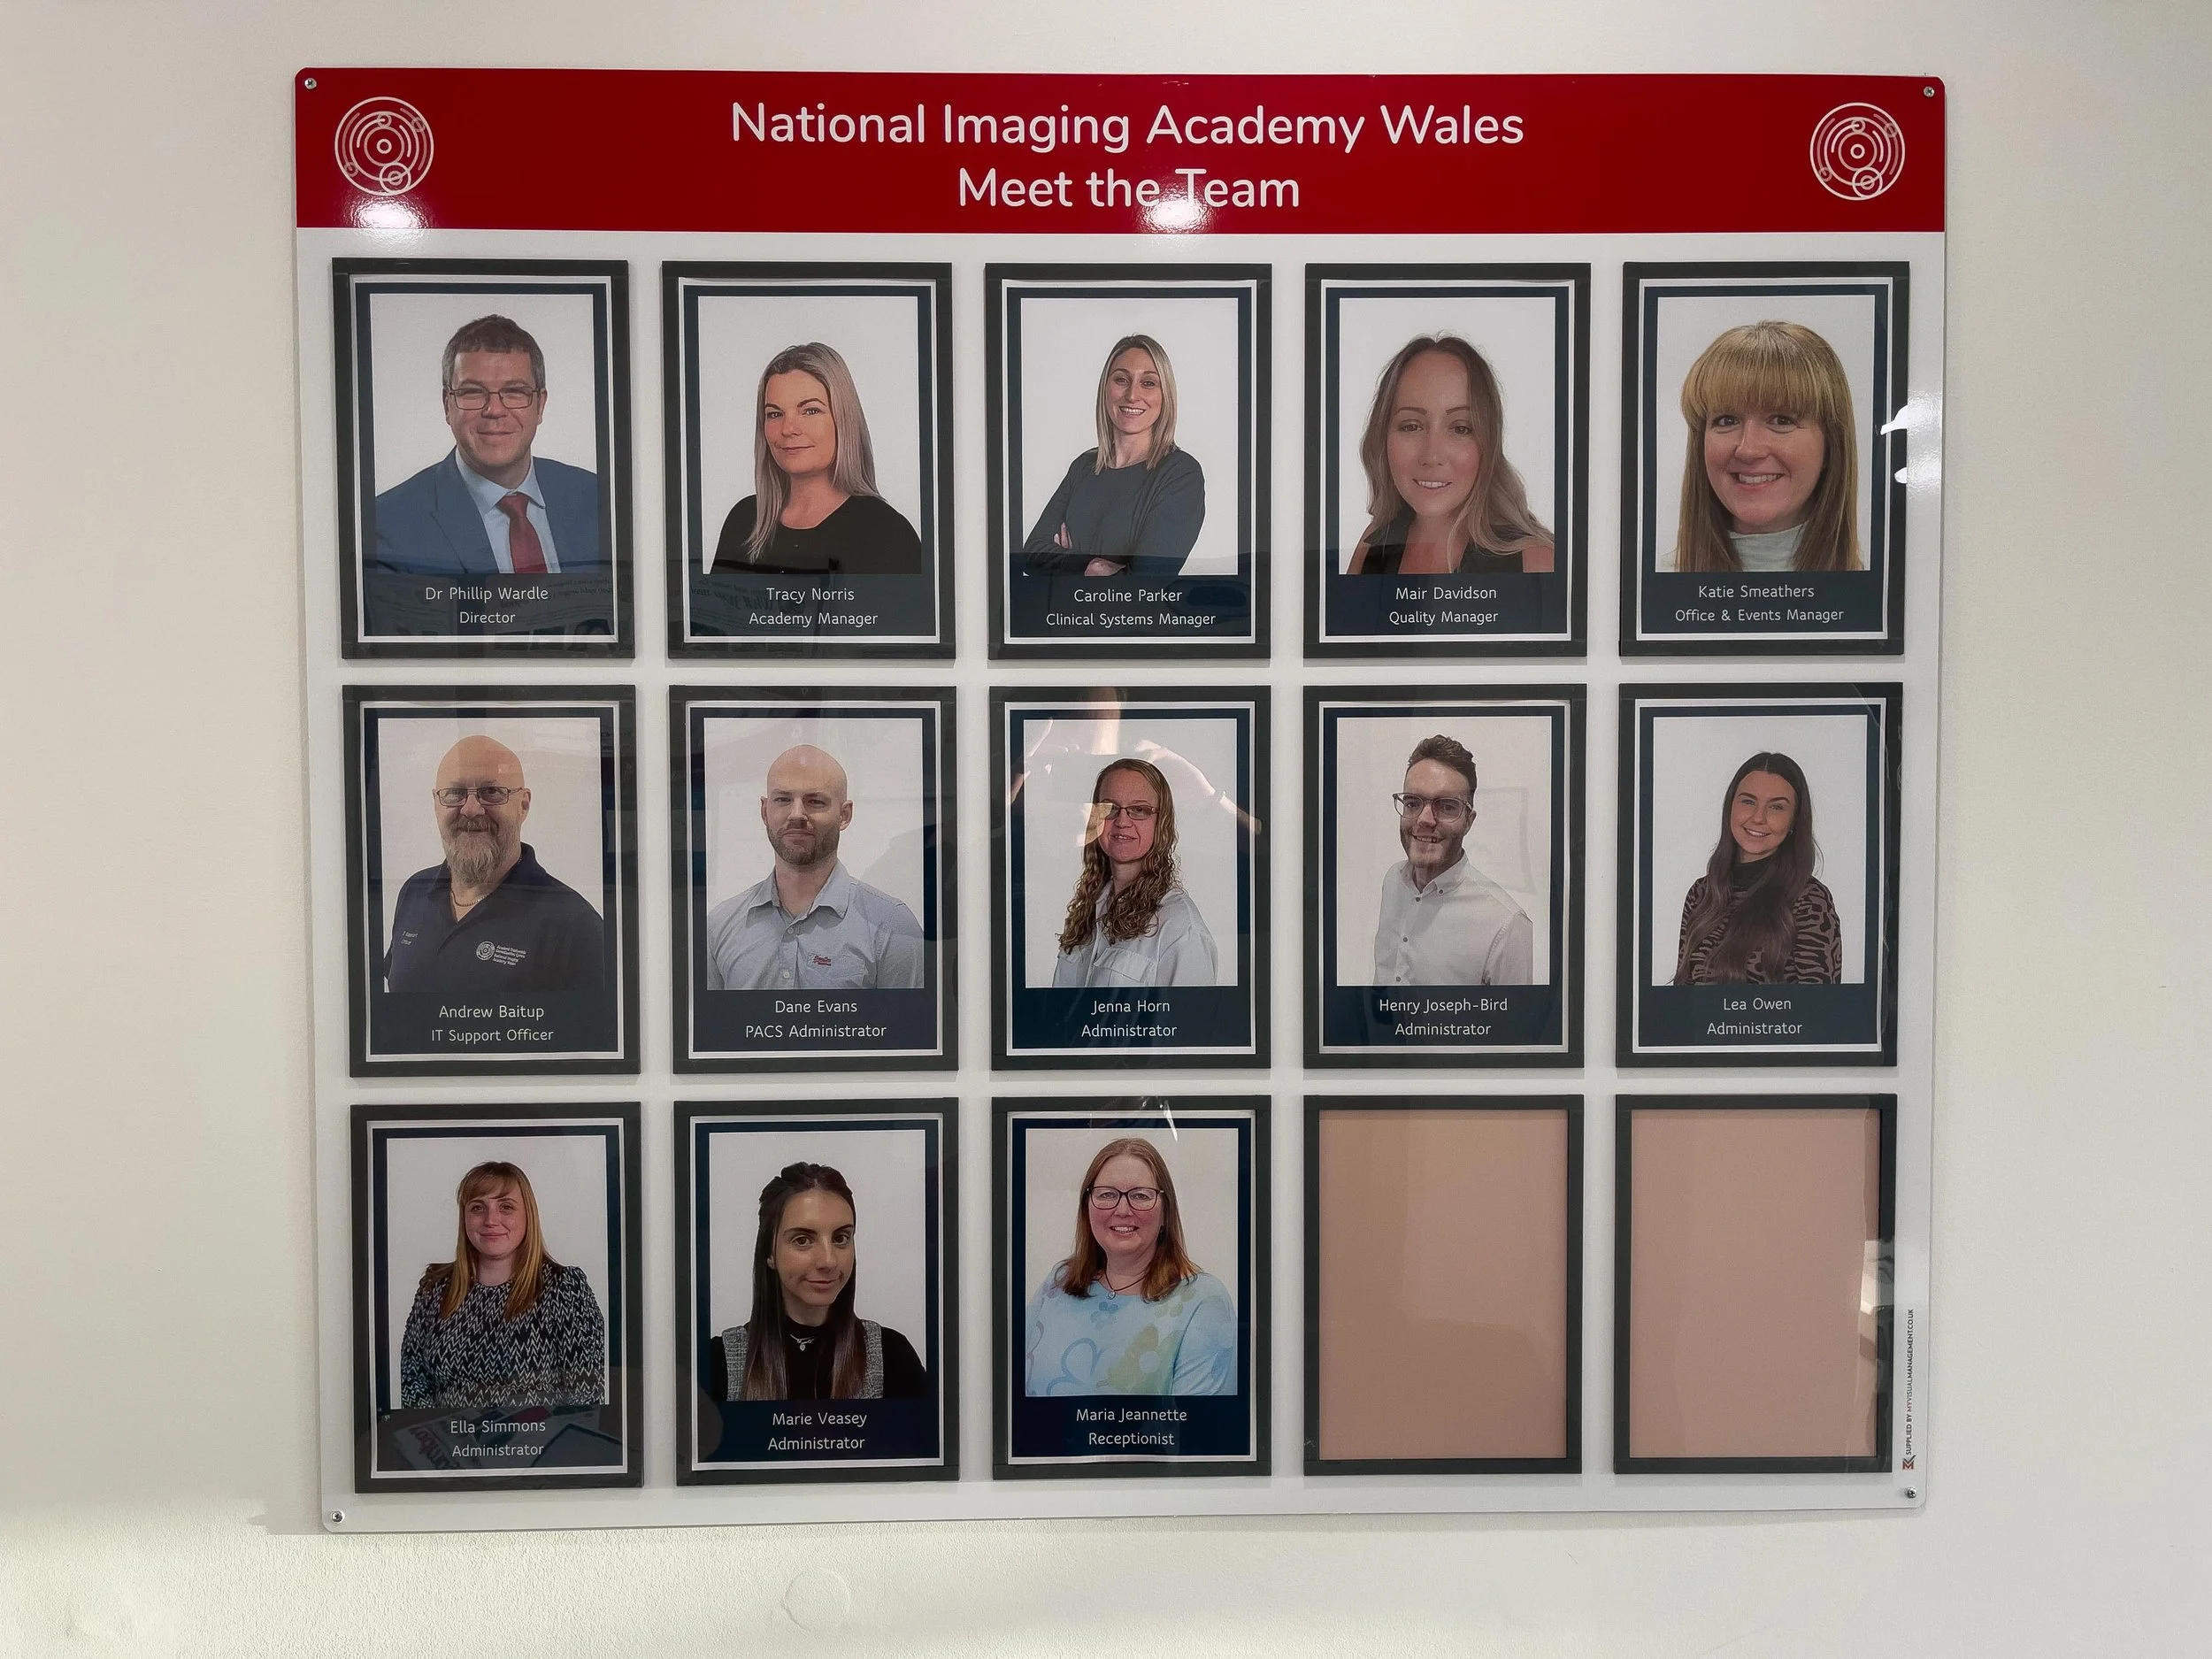
When I first joined the National Imaging Academy Wales back in July, I had a little project in mind: updating the "Meet the Team" board and the Trainer board with new, professional photos. Sounds simple enough, right? Take the photos, print them out, stick them up, and voilà!
Well, as anyone in photography knows, nothing is ever quite that straightforward – but challenge accepted.
I decided to tackle the "Meet the Team" photo board first. Armed with my trusty camera gear and a clear plan, I used our team chat in Microsoft Teams and the academy Outlook calendar to book a day when I could bring everything in. I also made sure to let everyone know to come "suited and booted" – no exceptions. After all, we weren’t just updating a board; we were creating professional portraits and welcome face of the Academy..

With three years of experience working as a photographer on cruise ships, I’d learned a thing or two about studio photography – skills that are now invaluable for my wedding and event work. But this project was different. It was all about creating polished, professional shots in a controlled environment. Here's a peek at the kit I brought with me to make that happen:
Godox Octo Softbox
Godox V1s (the ‘S’ stands for Sony, in case you were wondering)
2 Neewer lightstands (one’s due for a replacement – it’s been through a lot)
And, of course, my trusty SanDisk Pro Extreme 128GB memory cards (because space is life).

Once everything was set up, I got to work. For the main "key" light, I used the AD200Pro with the softbox on a light stand. I positioned the V1s with the MagMod as a fill light aimed at the back of my subject. This created a lovely light aura around them, separating them from the background and giving the photo a 3D, professional look. It’s all about the details.
Then, the big day arrived. Spirits were high, and everything seemed to be going smoothly. With 16 people scheduled for their photo sessions, I have planned individual time slots to ensure everyone got their turn in front of the camera without chaos ensuing. One by one, I ticked off each colleague from the list, one by one.

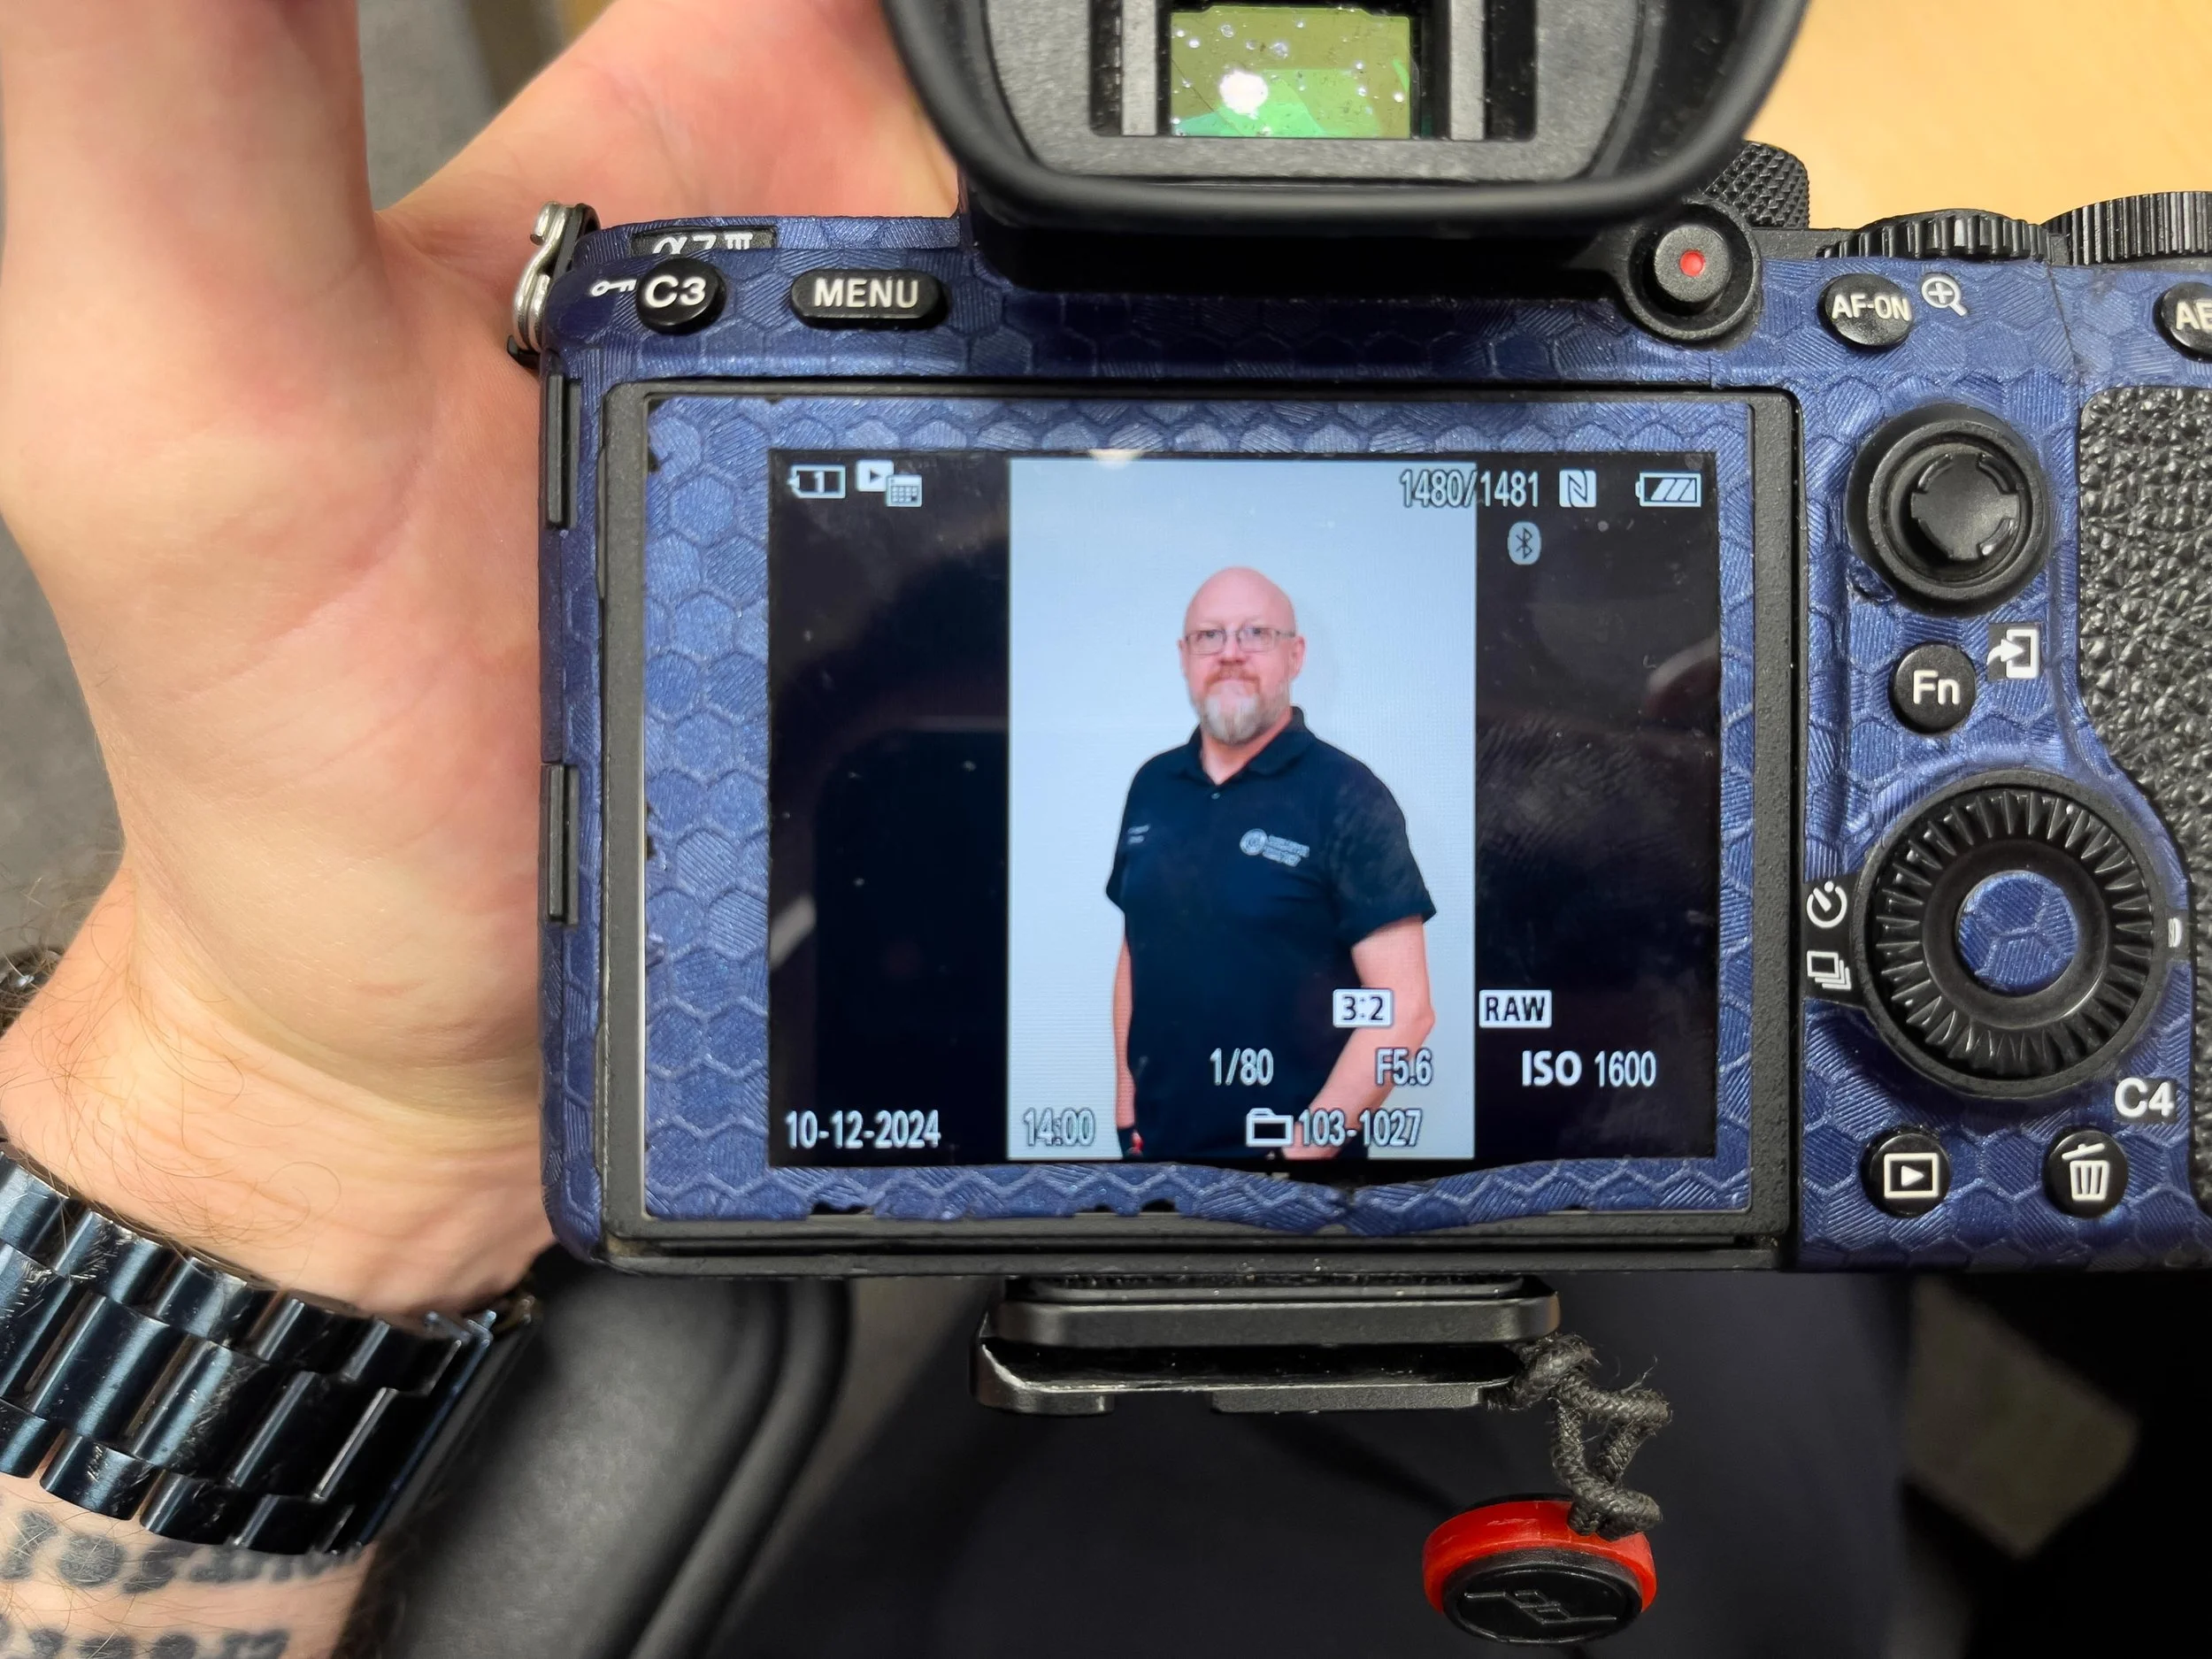
After the shoot, it was time for editing. I shot everything in RAW (which holds way more digital data than JPG), so I had plenty of room to work in Lightroom. First, I adjusted the color and brightness to get the look just right. Then, as per some of the requests I’d received ("Can you make me look 10 years younger?" and "Maybe slim me down a bit?"), I took each photo into Photoshop.
Here’s where the real magic happened. With tools like the clone tool, spot removal, and the newer AI-powered Generative Fill (which is an absolute game changer), I tidied up tops, removed blemishes, and gave everyone’s skin a smoother, more polished look. After that, the photos were ready to be placed into a Canva template I’d already prepared.
But - of course – things couldn’t be that easy. When I dropped the images into the template, I realised the backgrounds weren’t consistent. My inner perfectionist couldn’t let that slide. So, I got creative. Using the magic grabber tool in Canva, I separated the subjects from their backgrounds and duplicated the background from one image to apply to the others. Et voilà – perfect continuity, achieved with a bit of digital sleight of hand!

Until next time – may your lighting always be flattering and your backgrounds flawlessly consistent!